
As you know, adding pictures to RayWiki is extremely important, as there's no better description than an image; and after all, a video game is made of images ^^ So, the best we can do is to use the best quality pictures available, and there's a tip for Rayman 1 screenshots that every valued contributor should know about.
Now, let's take a look at this picture:
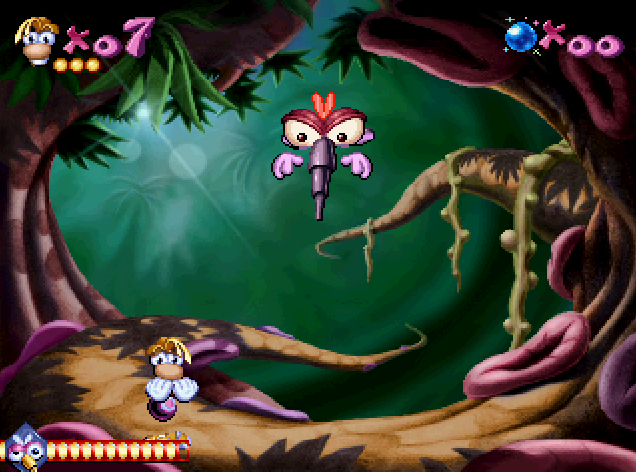
Okay, it's nothing but Moskito from the PS1 version. But let's take a closer look now.
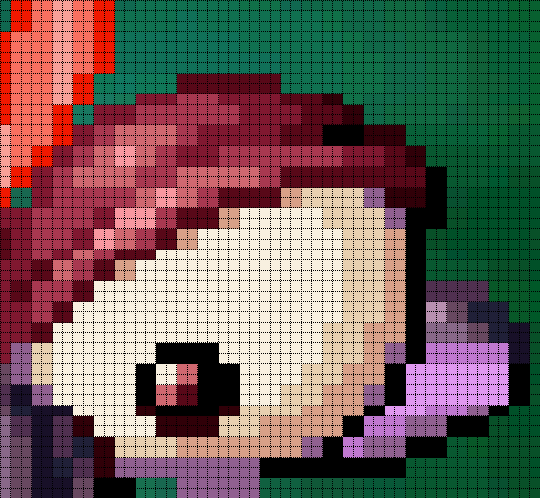
If you have any computer notions, you've already noticed that the picture is actually made of small squares which are not just pixels, but actually 2×2 pixel-large squares. Most of you already knew it, but I just wanted to emphasize that.
The problem is that Rayman 1 is a 2D-game, with neat sprites. We just can't put 632 pixel-wide (636 for the PS screenshots, as there's no black strip on the left) in the wiki pages, and unfortunately, resizing them with an internet browser results in a quality loss. Why? Simply because there are several resizing algorithms, and all modern browsers use advanced techniques (such as bicubic, bilinear, best quality, etc.) that don't fit neat sprites. So, you got it, if browsers don't do it, we'll have to take care of that ourselves!
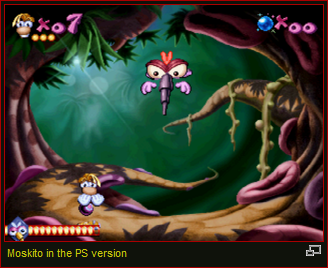
And it's no big deal. All graphics programs allow nearest neighbour resampling (which will permit a 50% resizing of the picture without any quality loss), even MS Paint (you'll have to use another program to save the picture as a PNG though, or Paint will just screw it hardcore). And then, our screenshots will be 316 pixel-wide (318 on the PS), which is a perfect size to illustrate our articles

In conclusion, here's an example to show you the difference.

Not to mention the disk space and bandwidth saving: our server isn't free
Thank you for reading, and see you on RayWiki!


