Moseying the Mountain: Difference between revisions
Improvements and added links |
No edit summary |
||
| Line 18: | Line 18: | ||
}} | }} | ||
'''Moseying the Mountain''' is the first level of the [[Mystical Pique]], the fifth world in ''[[Rayman Origins]]''. This is where the | '''Moseying the Mountain''' is the first level of the [[Mystical Pique]], the fifth world in ''[[Rayman Origins]]''. This is where the heroes meet the fifth and final [[nymph]], [[Helena Handbasket]]. Once the heroes save her from the jaw of a [[Antitoon|Darktoon]], she gives them the power to [[Wall run|run on walls]]. This level bars environments from both [[Jibberish Jungle]] and [[Mystical Pique]]. This is the first level from this world and sixteenth overall that's not included in the [[Back to Origins]] mode in ''[[Rayman Legends]]''. | ||
==Area 1== | ==Area 1== | ||
Upon entry, an [[Electoon]] cries for help. The secret area can simply be found by going left and jumping up to the platform | Upon entry, an [[Electoon]] cries for help. The [[Secret area 1|first secret area]] can simply be found by going left and jumping up to the platform which leads to the door. Once the [[Electoon]]s are saved, the heroes can begin to advance, while avoiding [[Darkroot]]s. The first [[Skull Coin]] of the level can be collected by properly timing a crush attack to a [[flower bulb]] from a vine, which is in between two [[Darkroot]]s. The exit can be found to the right of the [[Skull Coin|coin]]. | ||
<gallery widths="320px" heights="180px"> | <gallery widths="320px" heights="180px"> | ||
| Line 29: | Line 29: | ||
===Secret area 1=== | ===Secret area 1=== | ||
The | The heroes have to defeat the many [[Livingstone|Lividstones]] throughout the area while avoiding the [[Darkroot]]s. When all [[Livingstone|Lividstones]] are defeated, the [[cage]] can be broken. | ||
<gallery widths="320px" heights="180px"> | <gallery widths="320px" heights="180px"> | ||
| Line 37: | Line 37: | ||
==Area 2== | ==Area 2== | ||
This is where | This is where the heroes spot [[Helena Handbasket]] captured by a [[Antitoon|Darktoon]]. They will have to chase the [[Antitoon|Darktoon]] as it [[Running|runs]] away. Along the way, the [[Antitoon|Darktoon]] runs up walls, foreshadowing [[Wall run|the next permanent power]] [[Helena Handbasket|Helena]] will give to the heroes once she is saved. The second [[Skull Coin]] can be collected by crush attacking on the first [[flower bulb]] to the right. Sometimes during the chase, the heroes are required to take different paths, because the ones that the [[Antitoon|Darktoon]] take can only be taken if the heroes have the power to [[Wall run|running on walls]]. After ascending further, the heroes will need to [[Helicopter|fly]] higher with the help of an updraft. During that, the third [[Skull Coin]] can be retrieved by flying to it near the top. Eventually, the heroes catch up, and are able to destroy the [[Antitoon|Darktoon]], receiving the aforementioned power to [[Wall run|run on walls]] from [[Helena Handbasket|Helena]]. It will be useful for reaching a [[switch]] to open the door leading to the exit. | ||
<gallery widths="320px" heights="180px"> | <gallery widths="320px" heights="180px"> | ||
| Line 44: | Line 44: | ||
Moseying the Mountain 7.jpg|The [[Antitoon|Darktoon]] running up on a wall. | Moseying the Mountain 7.jpg|The [[Antitoon|Darktoon]] running up on a wall. | ||
Moseying the Mountain 8.jpg|The | Moseying the Mountain 8.jpg|The heroes may have to take a different way to chase the [[Antitoon|Darktoon]]. | ||
Moseying the Mountain 9.jpg|The | Moseying the Mountain 9.jpg|The heroes will have to keep chasing the [[Antitoon|Darktoon]] upwards. | ||
Moseying the Mountain 10.jpg|The [[Antitoon|Darktoon]] will continue to [[Wall run|run on walls]]. | Moseying the Mountain 10.jpg|The [[Antitoon|Darktoon]] will continue to [[Wall run|run on walls]]. | ||
| Line 57: | Line 57: | ||
==Area 3== | ==Area 3== | ||
In this area, there are several members of [[Globox's species]] named the [[Red Wizard]]s trapped between two closed doors. The heroes need to reach another [[switch]] to open the doors for them to be freed. After they are saved, the [[Red Wizard]]s begin to [[Wall run|run up a wall]] to five magical platforms, and the | In this area, there are several members of [[Globox's species]] named the [[Red Wizard]]s trapped between two closed doors. The heroes need to reach another [[switch]] to open the doors for them to be freed. After they are saved, the [[Red Wizard]]s begin to [[Wall run|run up a wall]] to five magical platforms, and the heroes must follow them to the platforms. The heroes need to perform a ritual with the [[Red Wizard]]s in order to open the door. If done correctly, the door will open and the heroes can advance. | ||
<gallery widths="320px" heights="180px"> | <gallery widths="320px" heights="180px"> | ||
Moseying the Mountain 16.jpg|The [[Red Wizard]]s need to be freed to continue. | Moseying the Mountain 16.jpg|The [[Red Wizard]]s need to be freed to continue. | ||
Moseying the Mountain 17.jpg|The [[Red Wizard|Wizards]] will guide the | Moseying the Mountain 17.jpg|The [[Red Wizard|Wizards]] will guide the heroes to the door. | ||
Moseying the Mountain 18.jpg|The | Moseying the Mountain 18.jpg|The heroes will have to follow them. | ||
Moseying the Mountain 19.jpg|A magic ritual needs to be performed to open the door. | Moseying the Mountain 19.jpg|A magic ritual needs to be performed to open the door. | ||
Moseying the Mountain 20.jpg|The beginning part of the ritual. | Moseying the Mountain 20.jpg|The beginning part of the ritual. | ||
Moseying the Mountain 21.jpg|The | Moseying the Mountain 21.jpg|The heroes need to move up and down in sync with the [[Red Wizard]]s. | ||
Moseying the Mountain 22.jpg|The ritual has to be in tune. | Moseying the Mountain 22.jpg|The ritual has to be in tune. | ||
| Line 73: | Line 73: | ||
==Area 4== | ==Area 4== | ||
The | The heroes enter a strange area, filled with spikes and meditating [[Fakir]]s. Throughout, the heroes will need to use their newly acquired power to [[Wall run|run on walls]] in order to avoid the spikes and [[Darkroot]]s. The fourth [[Skull Coin]] is located above a zip-line and a couple [[Darkroot]]s. There are a couple of [[Red Wizard]]s with [[Antitoon|Darktoons]] attached to their heads. It is not required to destroy them to move on to the exit nearby. | ||
<gallery widths="320px" heights="180px"> | <gallery widths="320px" heights="180px"> | ||
| Line 81: | Line 81: | ||
==Area 5== | ==Area 5== | ||
Once again, the | Once again, the heroes have to [[Wall run|run on walls]], but while destroying the ice blocks in their way. After that, the [[#Secret area 2|second secret area]] can be found by using a meditating [[Fakir]]'s long beard and a wall to go upwards to the door. After completion, the heroes can move on to a platform filled with [[Antitoon|Darktoons]], one attached to a [[Red Wizard]]. The fifth [[Skull Coin]] is hiding just above the platform. The heroes will then have to [[Running|run]] on a loopy platform; a wall platform will rise up, and more [[Antitoon|Darktoons]] will appear by the exit. The sixth [[Skull Coin|coin]] can be collected right above the exit, by [[Wall run|running up a wall]] which leads to it. | ||
<gallery widths="320px" heights="180px"> | <gallery widths="320px" heights="180px"> | ||
| Line 91: | Line 91: | ||
===Secret area 2=== | ===Secret area 2=== | ||
[[File:Moseying the Mountain 27.jpg|320px|thumb|right|The second secret area.]] | [[File:Moseying the Mountain 27.jpg|320px|thumb|right|The second secret area.]] | ||
All the | All the heroes have to do is reach a [[flower bomb]] and destroy it to make a large rotating platform move, squashing the [[Livingstone|Lividstones]] underneath. Once completed, the [[cage]] can be broken. | ||
{{Clear}} | {{Clear}} | ||
| Line 97: | Line 97: | ||
==Area 6== | ==Area 6== | ||
[[File:Moseying the Mountain 30.jpg|320px|thumb|left|The final area of the level.]] | [[File:Moseying the Mountain 30.jpg|320px|thumb|left|The final area of the level.]] | ||
The | The heroes have to destroy the bouncing [[Psychlops]] first, then [[Running|run]] on a loop-d-loop to make it rotate, causing a vine to move towards the heroes. Using the vine will help reach the [[Livingstone|Lividstones]], which will also need to be defeated in order to break the [[Electoon]] [[cage]] and complete the level. Then the heroes pose on the [[The Photographer|photoboard]] as [[the Magician]] waits for the total amount of [[Lum (UbiArt games)|Lums]] that were collected throughout the level. | ||
{{Clear}} | {{Clear}} | ||
Revision as of 18:21, 22 August 2019
| Moseying the Mountain | |||||||||||
|---|---|---|---|---|---|---|---|---|---|---|---|
 | |||||||||||
| ← Fire When Wetty | Mystical Munkeys → | ||||||||||
 Mystical Pique Mystical Pique
| |||||||||||
   
|

|

| |||||||||
   
|
|
  
| |||||||||

|

| ||||||||||

Moseying the Mountain is the first level of the Mystical Pique, the fifth world in Rayman Origins. This is where the heroes meet the fifth and final nymph, Helena Handbasket. Once the heroes save her from the jaw of a Darktoon, she gives them the power to run on walls. This level bars environments from both Jibberish Jungle and Mystical Pique. This is the first level from this world and sixteenth overall that's not included in the Back to Origins mode in Rayman Legends.
Area 1
Upon entry, an Electoon cries for help. The first secret area can simply be found by going left and jumping up to the platform which leads to the door. Once the Electoons are saved, the heroes can begin to advance, while avoiding Darkroots. The first Skull Coin of the level can be collected by properly timing a crush attack to a flower bulb from a vine, which is in between two Darkroots. The exit can be found to the right of the coin.
-
 Darkroots will appear and grow throughout the level.
 -
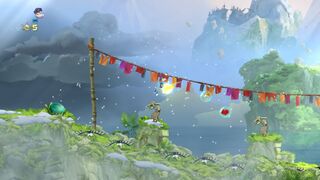 Lividstones appear in the first environment.


Secret area 1
The heroes have to defeat the many Lividstones throughout the area while avoiding the Darkroots. When all Lividstones are defeated, the cage can be broken.
-
 The first secret area.
 -
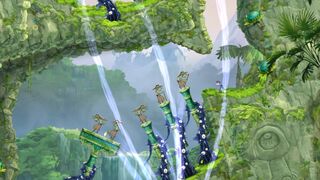 Many Lividstones are scattered in the area.


Area 2
This is where the heroes spot Helena Handbasket captured by a Darktoon. They will have to chase the Darktoon as it runs away. Along the way, the Darktoon runs up walls, foreshadowing the next permanent power Helena will give to the heroes once she is saved. The second Skull Coin can be collected by crush attacking on the first flower bulb to the right. Sometimes during the chase, the heroes are required to take different paths, because the ones that the Darktoon take can only be taken if the heroes have the power to running on walls. After ascending further, the heroes will need to fly higher with the help of an updraft. During that, the third Skull Coin can be retrieved by flying to it near the top. Eventually, the heroes catch up, and are able to destroy the Darktoon, receiving the aforementioned power to run on walls from Helena. It will be useful for reaching a switch to open the door leading to the exit.
-
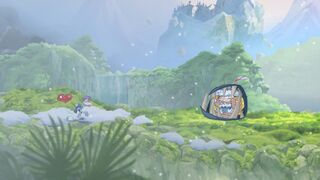 The second area.
 -
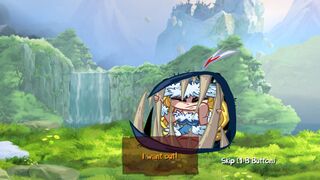 Helena Handbasket wanting out of the jaw.
 -
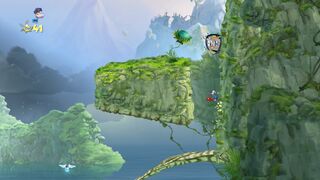 The Darktoon running up on a wall.
 -
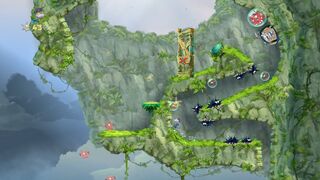 The heroes may have to take a different way to chase the Darktoon.
 -
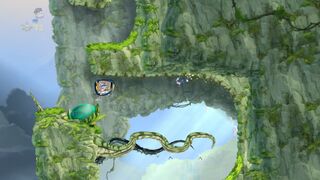 The heroes will have to keep chasing the Darktoon upwards.
 -
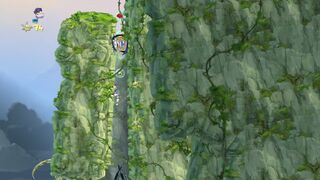 The Darktoon will continue to run on walls.
 -
 The glide power needs to be used while on the air current.
 -
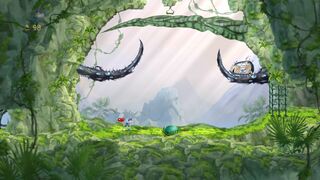 The Darktoon can be destroyed here.
 -
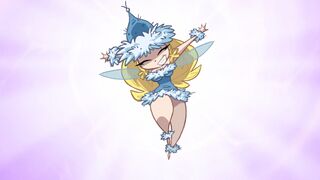 Helena Handbasket will grant the next new power.
 -
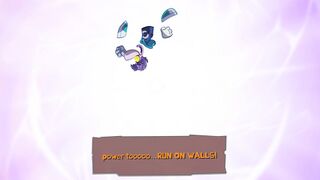 The new power is to run on walls.
 -
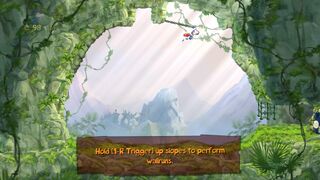 The power will be used throughout the remaining part of the level.


Area 3
In this area, there are several members of Globox's species named the Red Wizards trapped between two closed doors. The heroes need to reach another switch to open the doors for them to be freed. After they are saved, the Red Wizards begin to run up a wall to five magical platforms, and the heroes must follow them to the platforms. The heroes need to perform a ritual with the Red Wizards in order to open the door. If done correctly, the door will open and the heroes can advance.
-
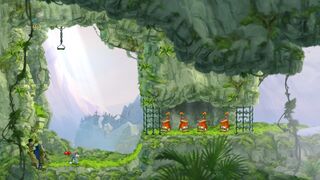 The Red Wizards need to be freed to continue.
 -
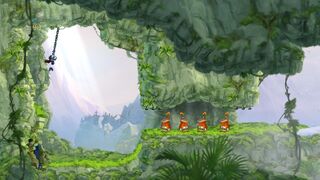 The Wizards will guide the heroes to the door.
 -
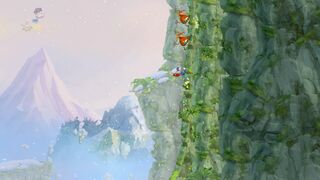 The heroes will have to follow them.
 -
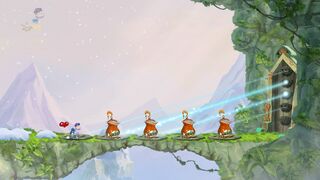 A magic ritual needs to be performed to open the door.
 -
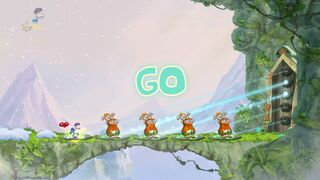 The beginning part of the ritual.
 -
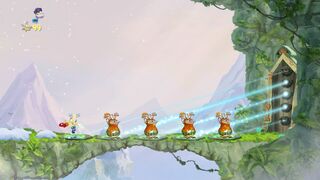 The heroes need to move up and down in sync with the Red Wizards.
 -
 The ritual has to be in tune.
 -
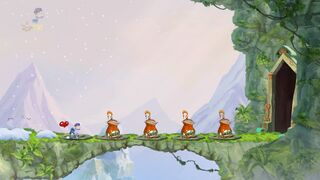 The door will eventually open.


Area 4
The heroes enter a strange area, filled with spikes and meditating Fakirs. Throughout, the heroes will need to use their newly acquired power to run on walls in order to avoid the spikes and Darkroots. The fourth Skull Coin is located above a zip-line and a couple Darkroots. There are a couple of Red Wizards with Darktoons attached to their heads. It is not required to destroy them to move on to the exit nearby.
-
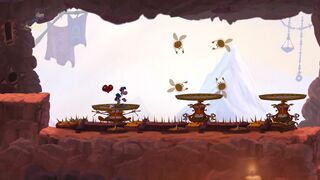 Meditating Fakirs with long beards.
 -
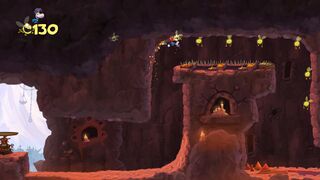 The running on walls power can be used here.


Area 5
Once again, the heroes have to run on walls, but while destroying the ice blocks in their way. After that, the second secret area can be found by using a meditating Fakir's long beard and a wall to go upwards to the door. After completion, the heroes can move on to a platform filled with Darktoons, one attached to a Red Wizard. The fifth Skull Coin is hiding just above the platform. The heroes will then have to run on a loopy platform; a wall platform will rise up, and more Darktoons will appear by the exit. The sixth coin can be collected right above the exit, by running up a wall which leads to it.
-
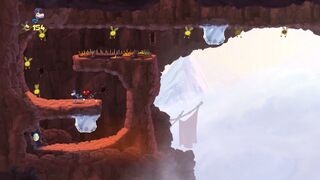 Huge blocks of ice will have to be destroyed along the way.
 -
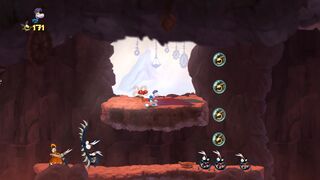 Darktoons underneath.
 -
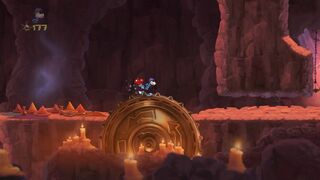 This loop-d-loop can be used to make the rocky platform rise up.


Secret area 2

All the heroes have to do is reach a flower bomb and destroy it to make a large rotating platform move, squashing the Lividstones underneath. Once completed, the cage can be broken.
Area 6

The heroes have to destroy the bouncing Psychlops first, then run on a loop-d-loop to make it rotate, causing a vine to move towards the heroes. Using the vine will help reach the Lividstones, which will also need to be defeated in order to break the Electoon cage and complete the level. Then the heroes pose on the photoboard as the Magician waits for the total amount of Lums that were collected throughout the level.
External links
- Moseying the Mountain playthrough at YouTube (PC version) (Saving the nymph only)
- Moseying the Mountain playthrough at YouTube (PC version) (Normal walkthrough + Lums Medal)
- Moseying the Mountain playthrough at YouTube (PC version) (Speed Trophy)