On Top of Old Smokey: Difference between revisions
Hunchman801 (talk | contribs) m clean up |
The Jonster (talk | contribs) links |
||
| Line 150: | Line 150: | ||
==External links== | ==External links== | ||
* [ | * [https://www.youtube.com/watch?v=Ms_m3Kv3vs0 On Top of Old Smokey playthrough at YouTube (PC version) (Normal walkthrough + Lums Medal)] | ||
* [ | * [https://www.youtube.com/watch?v=xk6RG0ndfrU On Top of Old Smokey playthrough at YouTube (PC version) (Speed Trophy)] | ||
* [https://www.youtube.com/watch?v= | * [https://www.youtube.com/watch?v=kv2mlC9xMWs On Top of Old Smokey's ''Rayman Legends'' playthrough at YouTube (PC version)] | ||
{{RaymanOriginslocations}} | {{RaymanOriginslocations}} | ||
Revision as of 20:27, 8 December 2023
| On Top of Old Smokey | |||||||||||
|---|---|---|---|---|---|---|---|---|---|---|---|
 | |||||||||||
| ← Riding the Storm | Mecha No Mistake! → | ||||||||||
   
|

|

| |||||||||
   
|
|
  
| |||||||||

|

| ||||||||||

On Top of Old Smokey is the second level of the Moody Clouds, a world in Rayman Origins. In this level, the heroes cross through the stormy weather, heading into a place with strange pipe-like structures. This is the second level from this world and thirty-seventh overall that's included in the Back to Origins mode in Rayman Legends.
Original version
Area 1
Rayman and his team begin in the stormy weather, with clouds shooting lighting. As they progress, small flies will appear. Grabbing a Blue Punch is useful for destroying them. The first Skull Coin can be collected by taking a higher path, past two clouds, and performing walljumps on a couple of pipes. The exit is to the right of the coin.
-
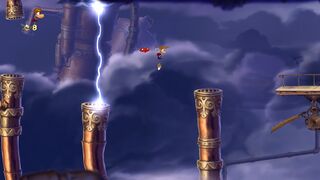 The first area.
 -
 The first Skull Coin.


Area 2
In this area the weather gets more rough, as rain is pouring and there are more clouds that shoot lighting. The second Skull Coin can be found by gliding down, past through several clouds grouped together. After a while of gliding through the weather, the exit can be found.
-
 The second area of the level.
 -
 Stormy clouds shooting lighting are common in the area.


Area 3
Now the heroes come across strange like structures in the background, with more pipes and machinery. The team shortly face some small robots that shoot electricity. They can be defeated by punching them to a moving blade. After the team gets past the robots and the laser shooters, the exit can be found.
-
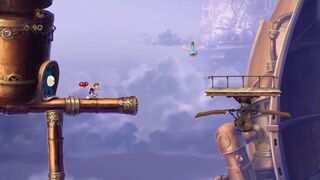 The third area.
 -
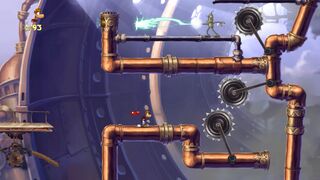 Moving blades.


Area 4
The third Skull Coin is located near two laser shooters, surrounded by moving platforms. Shortly after, the players need to time a jump to get on the chains to avoid the lasers and get to the exit.
-
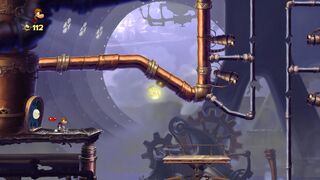 The fourth area of the level.
 -
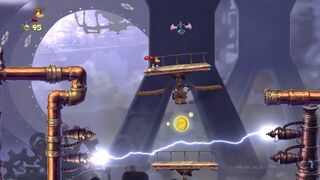 The third Skull Coin.
 -
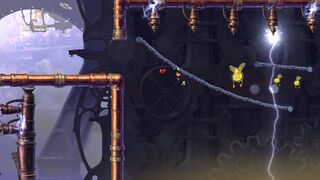 Chains that can be used like a zipline.


Area 5
In this area, Rayman and the team are going to use the glide power to fly with the current. There are a bunch of mecha fishes throughout, and using the Blue Punch makes it easier to defeat them. The fourth Skull Coin can be collected by flying to the coin on the left, and doing so quickly before getting hit by the moving blades. The first secret area is located at the top, to the left.
-
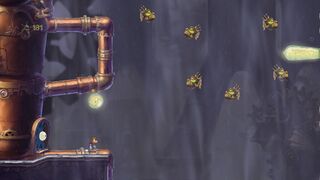 The fifth area.
 -
 Many mecha fishes appear in the area.


Secret area 1
The players need to use the air vent to get up to the robots and defeat them in order to break open the Electoon cage.
-
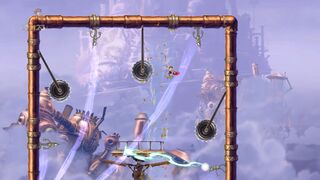 The first secret area of the level.
 -


Area 6
After advancing past lasers for a while, the team will use the wall run to get through a large gap. The fifth Skull Coin can be acquired by making the right jump without touching the moving blades. The second secret are is located underneath the coin, near a stationary blades. The exit is nearby.
-
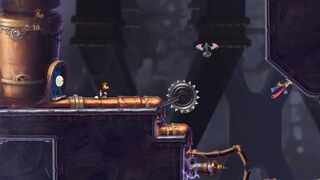 The sixth area of the level.
 -
 Pipes that the wall run power can be used on.


Secret area 2
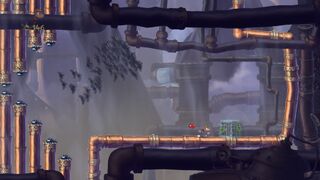
There are no enemies to defeat. All the players need to do is get to the cage without the flying creatures catching up.
-
 The second secret area.
 -


Area 7
For a fairly short time, the players must dodge laser shooters and blades. The sixth Skull Coin is located in the air, to the right of continuously appearing blades. Then, they get on a loop-d-loop platform, and must run backwards to make it go forward. The exit is to the right.
-
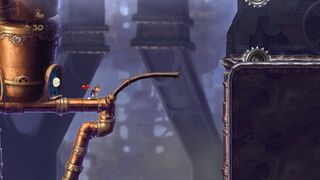 The seventh area of the level.
 -
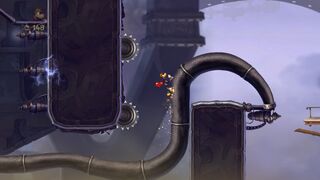 More blades and a pipe.
 -
 A loop-d-loop that needs to be used to continue.


Area 8
After defeating a group of small flies, the heroes must get through the moving blades to progress to the exit.
-
 The eighth area.
 -
 More moving blades.


Area 9
To defeat the robots, the loop-d-loops need to be run on to make the pipes move to the blades. Once done, the Electoon cage can be broken open to the end the level. Then the players pose on the photoboard as the Magician waits for the total amount of Lums that were collected.
-
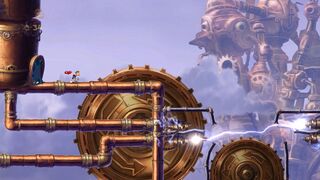 The ninth and final area.
 -
 The loop-d-loops are useful for destroying the robots.


| On Top of Old Smokey | ||||||||
|---|---|---|---|---|---|---|---|---|
 | ||||||||

| ||||||||
| ← Tricky Temple Too | Mecha No Mistake! → | |||||||
 Mystical Pique Mystical Pique
| ||||||||

|
||||||||

|

| |||||||

|

| |||||||
Back to Origins
In the Back to Origins version, there are not many differences between the original version; except of the notable elements from Rayman Legends replacing some of the elements from the game.
-
 The start of the level.
 -
 Rayman standing on a flying platform.
 -
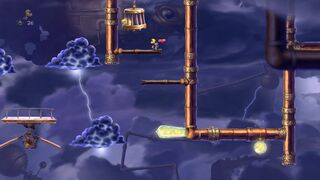
-
 Two flying Lum chains.
 -

-
 A Lum cage.
 -
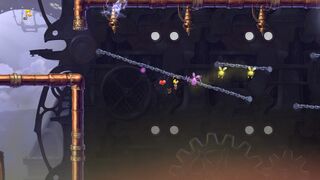
-
 Rayman flying past several mecha fish enemies.
 -
 The first secret area.
 -
 Two robot enemies.
 -
 Rayman getting chased by flying creatures in the second secret area.
 -
 The cage in the second secret area.
 -
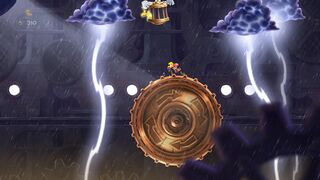
-
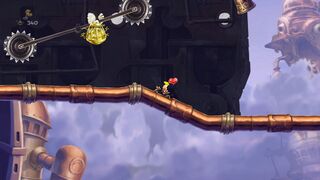 Another Lum cage.
 -
 The last part of the level.


External links
- On Top of Old Smokey playthrough at YouTube (PC version) (Normal walkthrough + Lums Medal)
- On Top of Old Smokey playthrough at YouTube (PC version) (Speed Trophy)
- On Top of Old Smokey's Rayman Legends playthrough at YouTube (PC version)